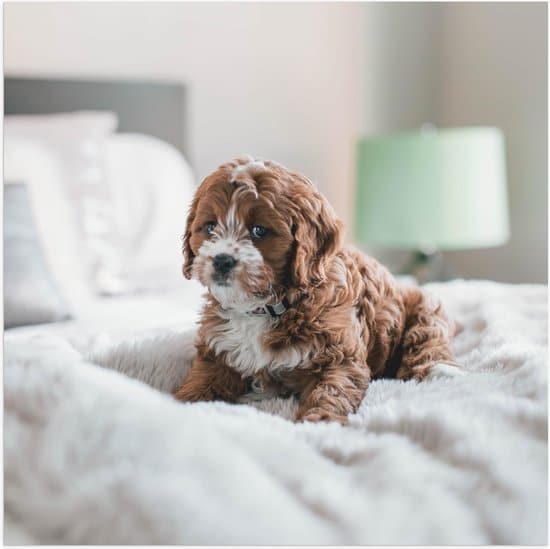
If you’ve got a Cavapoo with a curly coat, you already know this already…
They’re adorable — and their hair acts like Velcro.
It clings to everything, mats in spots you don’t notice, and tricks you into thinking “I brushed already” when underneath… there’s a tight knot forming close to the skin.
This guide fixes that.
I’ve tested the most common brushes Cavapoo owners buy, and I’ll walk you through what actually works, what doesn’t, and the simple setup that keeps your dog mat-free without turning grooming into a 30-minute battle.
First — you’re not doing anything wrong
Before we get into tools, let’s clear something up.
Most Cavapoo owners struggle with matting at some point.
One Cavapoo owner described how their dog looked perfectly fluffy after brushing, but when the groomer checked, there were tight mats underneath that required a full shave-down—a common issue explained in this Reddit discussion about hidden matting and line brushing.
That’s not neglect — that’s just using the wrong method.
The issue isn’t effort.
It’s using tools that only brush the surface.
Quick answer (if you just want the best brush)
If you buy one thing:
Get a long-pin slicker brush
This is the only brush that consistently works on curly Cavapoo coats.
Why it works:
- Reaches through curls to the undercoat
- Separates hair instead of flattening it
- Prevents mats before they start
But here’s the part most guides miss:
A slicker brush alone is not enough.
To actually stay mat-free, you need a 2-tool system:
- Long-pin slicker brush (main tool)
- Metal greyhound comb (your “check if it’s really done” tool)
Why Cavapoo curly coats mat so easily
Understanding this changes everything.
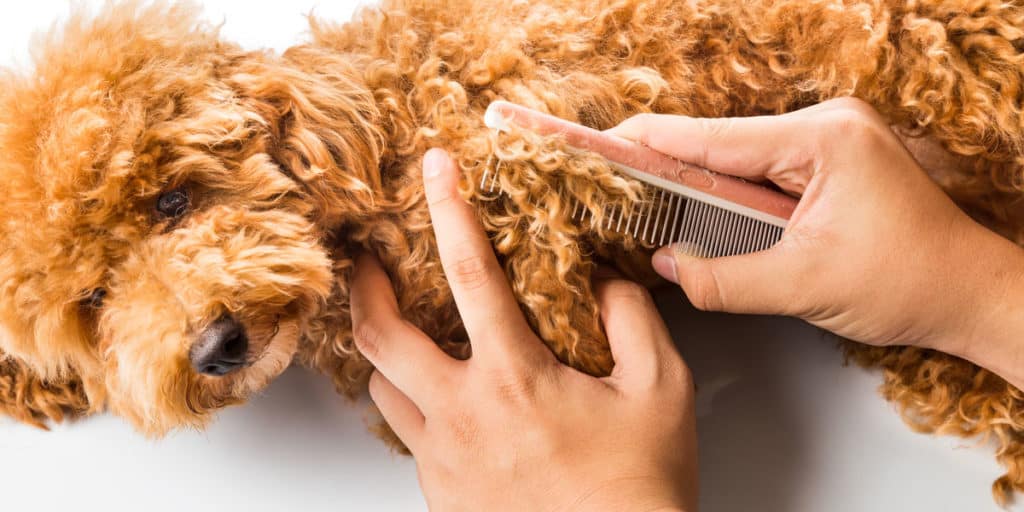
Image Source: doggroomingtutorial.com
What’s happening:
- Curly coats trap loose hair instead of shedding it
- Movement + friction twists hair into knots
- Moisture (walks, baths, drool) tightens tangles
- Most brushes only smooth the top layer
That last one is the killer.
Another Cavapoo owner shared how they brushed daily but still found mats in the armpits and behind the ears—a common struggle detailed in this Reddit discussion about hidden mats and proper brushing technique because their brush never reached the skin.
So the goal isn’t “make the coat look fluffy.”
The goal is: fully combable from skin to ends
The 2-tool combo that actually works
If you want the simplest, no-guess setup:
1) Long-pin slicker brush (your main brush)
What it looks like:
- Long, fine pins
- Slightly flexible base
- Comfortable handle
What it does best:
- Prevents mats
- Separates curls
- Handles everyday brushing
Where people go wrong:
- They brush the surface only
How to use it properly (this matters)
Use line brushing:
- Start low (like a back leg)
- Lift a small layer of hair
- Brush underneath gently
- Move upward layer by layer
It sounds slow, but once you get used to it, it’s actually faster than fixing mats later.
2) Metal greyhound comb (the truth-check tool)
Image Source: petscare.com
This is what most people skip.
And it’s why mats come back.
What it does:
- Finds hidden tangles
- Confirms you reached the skin
- Keeps problem areas under control
How to use it:
- After brushing, run the comb from skin outward
- If it glides → you’re done
- If it snags → there’s still a tangle
Other brushes (what’s worth it vs what’s not)
Pin brush
Good for:
- Finishing
- Short coats
Not good for:
- Preventing mats
Think of it as a “polishing” brush, not a detangling tool.
Undercoat rake
Useful only if:
- Coat feels very dense near the skin
Avoid if:
- Coat is fine or already tangled
Used incorrectly, it can pull hair and irritate skin.
Dematting tool
Good for:
- Small problem areas
Not for:
- Large or tight mats
Use it carefully or skip it entirely if unsure.
Deshedding tools (like Furminator)
Usually a no.
They:
- Break curly hair
- Cause frizz
- Irritate skin
Better solution = consistent slicker + comb routine.
The 5–10 minute routine that actually works
You don’t need a full grooming session every day.
You need consistency.
Do this 3–5 times per week:
Step 1: Light mist (optional detangling spray)
Step 2: Line brush with slicker
Step 3: Comb check (non-negotiable)
Focus on these high-risk zones
If you’re short on time, do only these:
- Behind ears
- Armpits
- Under collar
- Harness area
- Tail base
- Between back legs
These areas create constant friction + moisture = mat factory
What NOT to do
Avoid these common mistakes:
- Only brushing the top
- Skipping the comb check
- Bathing without fully drying
- Ignoring harness/collar zones
- Cutting tight mats with scissors
One Cavapoo owner tried cutting out a mat close to the skin and accidentally nicked their dog—a scary mistake discussed in this Reddit thread about grooming accidents and mat removal that happens more often than people admit.
If your Cavapoo already has mats
Be honest about severity.
Small mats:
- Use detangling spray
- Work from ends inward
- Brush gently
- Comb check
Tight or widespread mats:
Go to a groomer
Reset with a shorter cut and start fresh.
Trying to “save the coat” often causes:
- Pain
- Skin irritation
- Long-term grooming anxiety
If your Cavapoo hates brushing
This is extremely common.
Try this instead:
- Do 60–90 second sessions
- Brush one zone at a time
- Reward and stop
- Use detangling spray
- Never pull through resistance
Short sessions beat forced long ones.
Grooming frequency (for fluffy look)
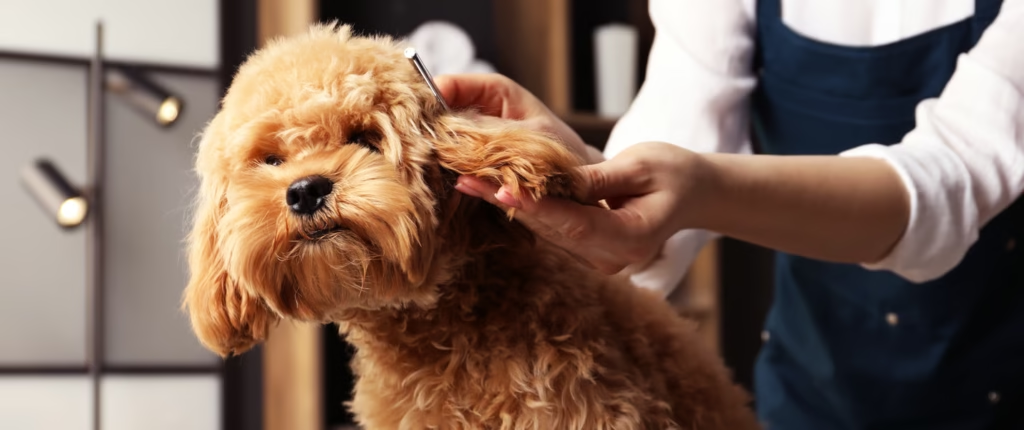
Image Source: waggel.co.uk
If you want that teddy look:
- Professional grooming every 4–6 weeks
- Home brushing in between
Wait too long (8+ weeks), and matting risk jumps fast.
What to buy (simple version)
If you want zero confusion:
Must-have:
- Long-pin slicker brush
- Metal greyhound comb
Optional:
- Detangling spray
- Dematting tool (only if needed)
Final takeaway
If you remember just one thing:
Brushing isn’t about making your Cavapoo look fluffy
It’s about making the coat fully combable from skin to ends
Do that consistently, and you’ll:
- Avoid painful mats
- Reduce grooming stress
- Keep that soft, fluffy look without surprise shave-downs
FAQs (Frequently Asked Questions)
What is the best brush for a Cavapoo with a curly coat?
The best brush for a Cavapoo curly coat is a long-pin slicker brush, often called a doodle slicker. It has long, fine pins and a comfortable handle, allowing it to reach through curls to the undercoat where mats form and separate hair effectively.
Why do Cavapoo curly coats mat so easily?
Cavapoo curly coats mat easily because the curl pattern traps shed hair instead of letting it fall out. Friction zones like harness areas, collars, armpits, behind ears, and butt fluff twist hair into knots. Moisture combined with movement (like wet walks or baths without full drying) also causes mats. Many brushes only smooth the top layer without reaching the skin, allowing hidden mats to tighten underneath.
What brushing tools are recommended to prevent matting in Cavapoos?
A simple two-tool combo works best: 1) A long-pin slicker brush as the main brush to lift and separate curls and prevent mats; 2) A metal greyhound comb to check for hidden tangles at skin level and sensitive areas. Optionally, a dematting tool or mat splitter can be used carefully for problem spots.
How should I use a long-pin slicker brush on my Cavapoo?
Use the line brushing technique: start at the bottom of one area (like a back leg), lift thin layers of coat with your free hand, then gently brush beneath that layer with the slicker in a few strokes. Move up layer by layer until you reach the top. This ensures you reach through the curls rather than just brushing the surface.
What makes a good metal greyhound comb for Cavapoo grooming?
A good metal greyhound comb should be made of stainless steel with two spacing options (wide and fine teeth), have smooth rounded teeth ends to avoid scratching, and feel solid and sturdy. It helps confirm that you have fully removed tangles after slicker brushing.
Why is it important to use both a slicker brush and a metal comb when grooming a Cavapoo?
Using only a slicker brush might leave hidden mats close to the skin because it mainly separates hair but can miss tight tangles underneath. The metal comb acts as a ‘proof’ tool by running from skin outward to detect any remaining tangles, ensuring the coat is fully combable and mat-free long term.